These are artworks in progress for fun, training and for clients
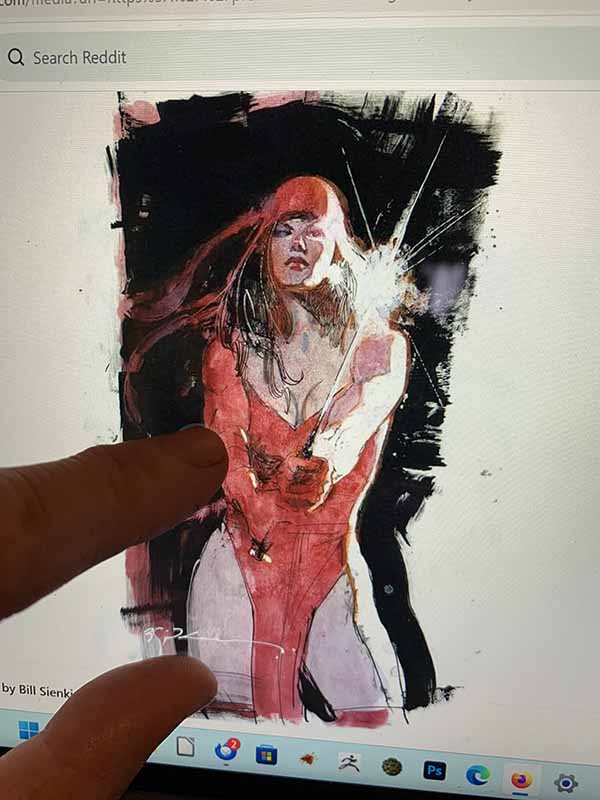
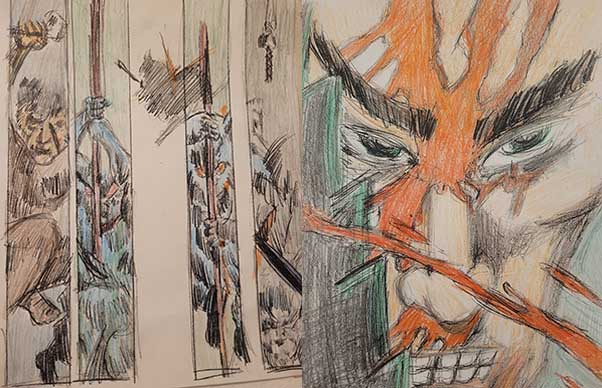
I use these examples for teaching aids, or lesson plans. I also use these art examples examples of what I am working on or practicing in an artistic medium. An artistic medium is a broad definition for the materials used to make art, like pencil, pastel, acrylic, clay, wood, stone, metal etc.,When you are light on art gigs go out and market on your website, social media, groups, etc., Make some art or assign yourself some. The examples below can be used for a lesson plan showing how to recreate a piece of art. The character Elektra Assassin by Bill Sienkiewicz.
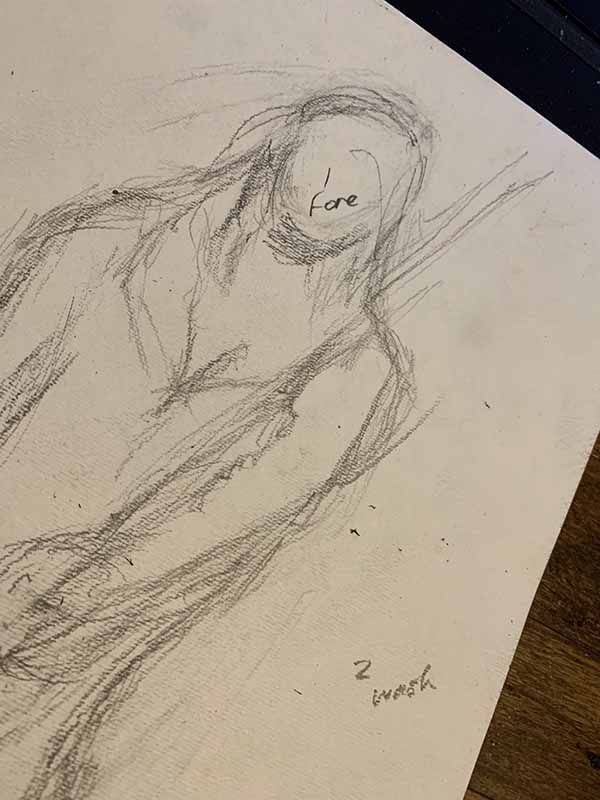
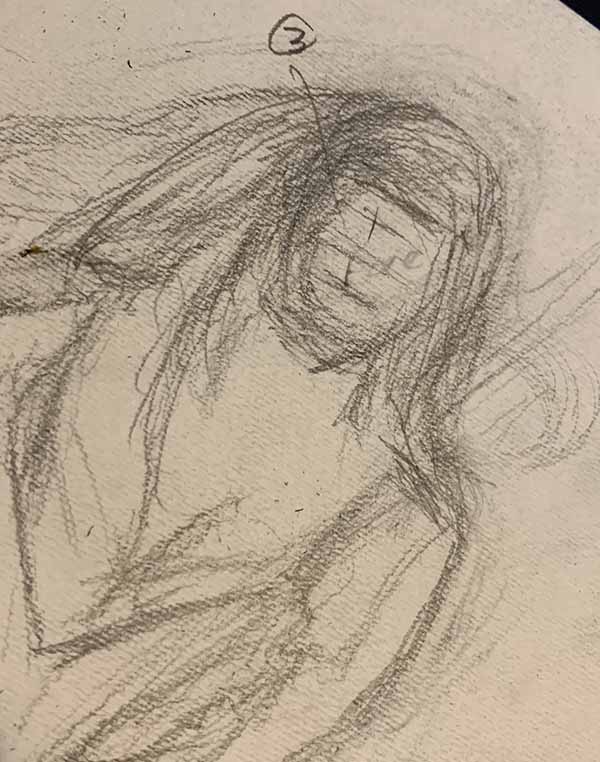
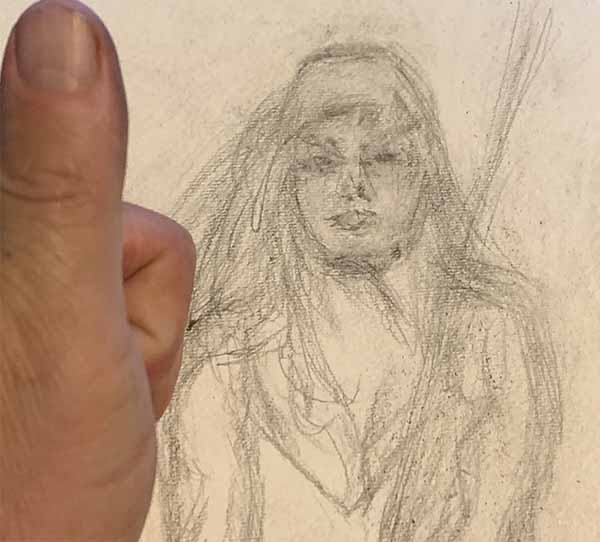
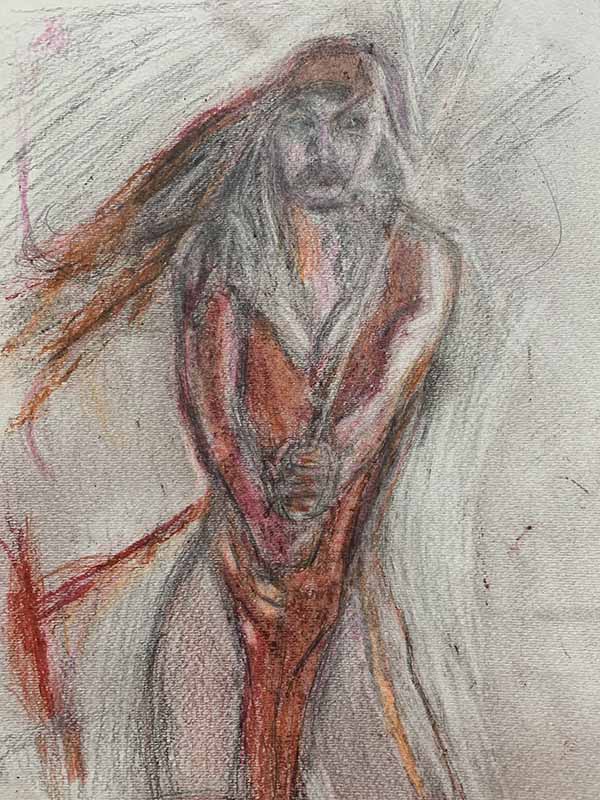
Above: ELEKTRA ASSASSIN art example by artist Bill Sienkiewicz. Here’s an educational demonstration showing how to use proportion. From top to the last example.
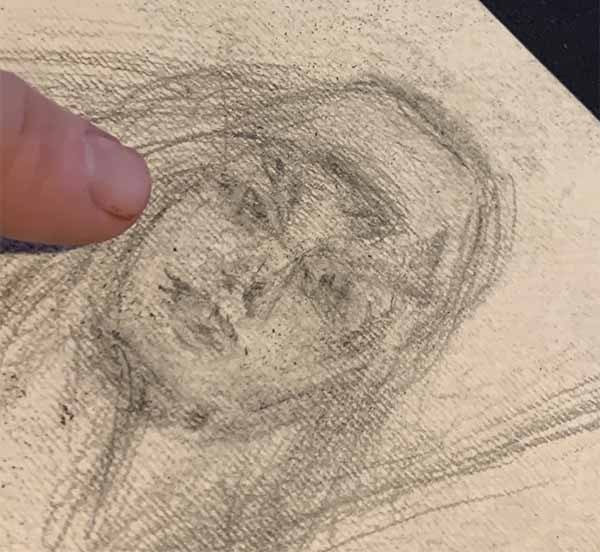
I’m not finished but this is a mixed media example with pencil, colored pencil, ink, marker, and possibly oil pastel in the drawings below. This is a reference drawing with fingers in the foreground to examine proportion. You can use rulers, finger distance or other tools to make the major details match the original art.
The examples blow can give you an idea of a lesson plan. I’m using pencil, marker, ink, pen, & colored pencil. I plan to use highlights with Oil Pastel.
Lesson One Plan, Steps
Preface: This lesson plan is a drawing instruction for a mixed media drawing done in order by pencil, marker, ink, colored pencil and oil pastel
#1) Find a static image of your art that you want to re-create, like another art piece, a picture, a photograph for example.
#2) Start your outlines and don’t put too much pressure in your lines or gradation with pencil. This is your main subject(s).
3) Think about the background later or you can lightly draw the background before the foreground.
Don’t make the background so that you can’t draw or paint or add more detail over it.
Using a ruler drawing a grid as the first step if you are not as good resolving proportions in art, illustration etc. You would draw a grid matching the original to your recreation.
Lesson One Plan Steps 4 & 5, Planning the foreground.
#4) Outline the major details of your foreground in this instance of drawing the character first..
#5) Use guidelines like FIGURE #3 to proportion faces and any other difficult detail to you.
3) Think about the background later or you can lightly draw the background before the foreground. Don’t make the background so that you can’t draw or paint or add more detail over it. Using pencil to draw background elements in lighter pressure is the best idea when making the background in this combo of mixed media.
Lesson One Plan Step 6, Proportion
#6) Once you have the major details in your foreground and main subject(s) use guides to determine if your proportions are as best as you can.
Comparing proportion can be done using a background grid that can be erased later, or comparing elements of the foreground together to see if you are doing well.
You can also use other lines to compare proportion to compare as a grid to match the drawing details. Using a ruler or drawing a grid as the first step if you are not as good resolving proportions in art, illustration etc.
Once all the critical edges, and lines are in place then begin shading. It’s a debate whether or not to create the background first using mixed media.
With painting like acrylic, it’s a lot easier to re-paint a detail in the foreground or background.
Lesson One Plan Step 7, Adding Color
#7) Once you have the major details in your foreground and main subject(s) use Color.
7A) For mixed media, pencil is best first.
7B) Then add Ink or marker. Unless you have to correct color elements.
7C) If marker and Ink are to your liking, then add colored pencil.
7D) Then adding oil pastel for highlights.
If you draw the background elements first use only pencil.
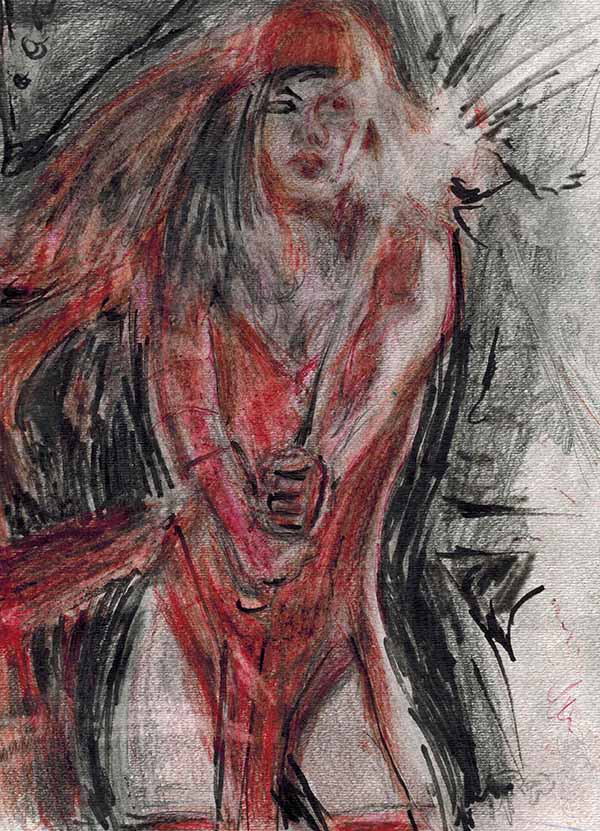
Here are the later stages of the drawing for lesson ideas.
After the pencil I moved onto marker and ink layers, then colored pencil. With highlights to be done later in oil pastel.
Remember an eraser is better used in the early stages of mixed media.
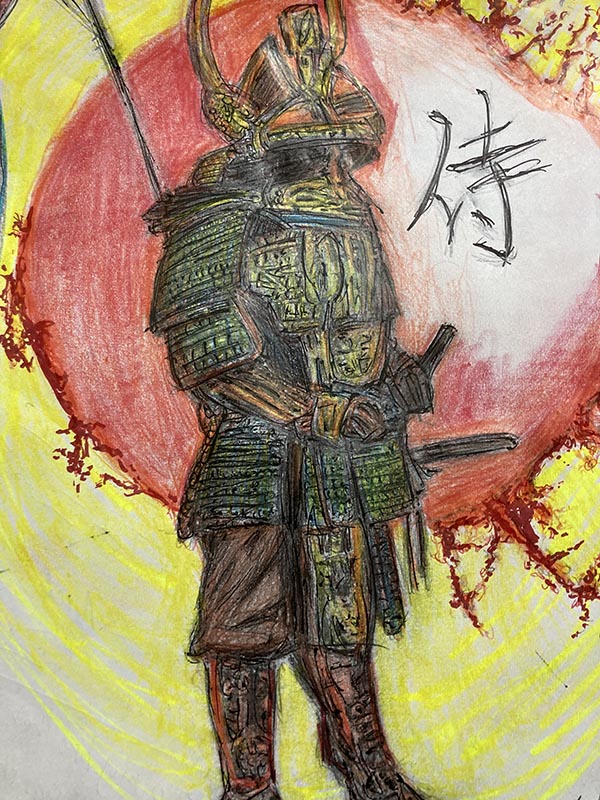
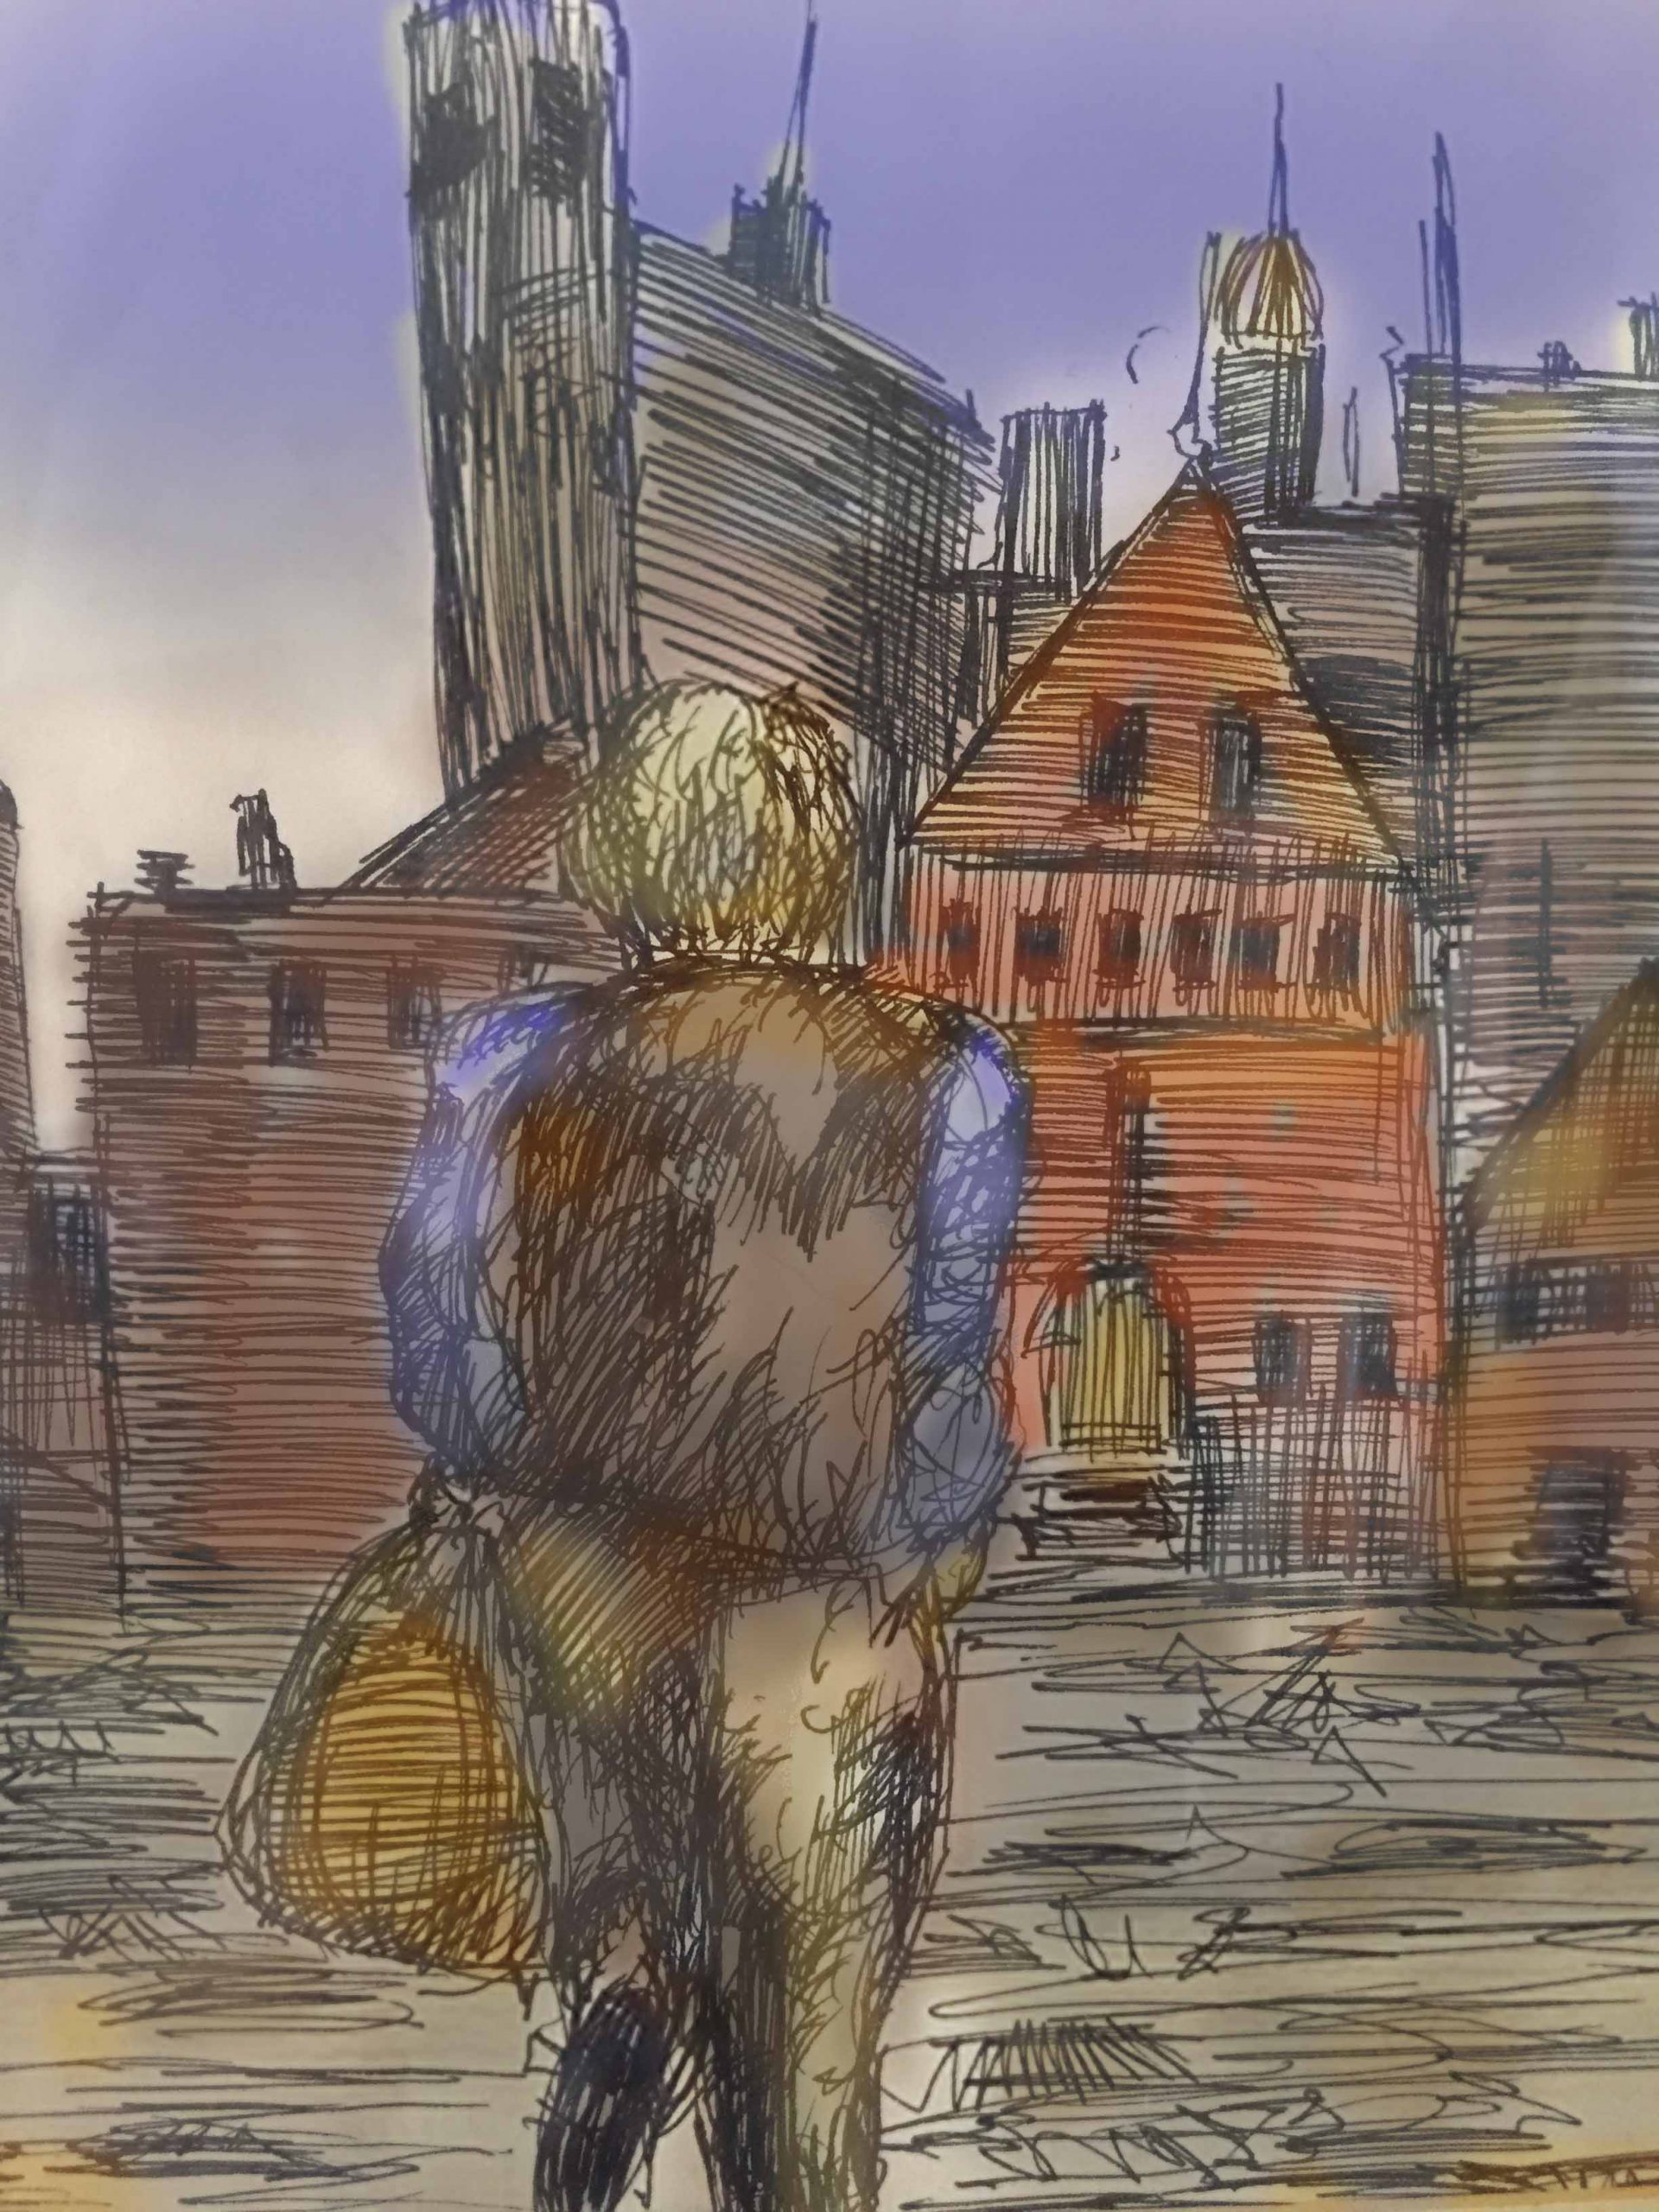
Here’s are some completed mixed media examples, using the same steps.
Mikhail Gorbachev Pointilism, 8×11 Print
Another Frank Miller Tribute art piece.A page out of Ronin, Volume 1.